First things first: Pulling a roll of self-developed film out of the developing tank is really rewarding, no matter how many times you’ve done it. Developing your own film does not only save you money, it also makes you appreciate them more. It’s rewarding to take a photo from start to finish, and it’s not as hard as you may think. You don’t have to be the modern-day Ansel Adams, the margin of error allowed when developing film is not as minimal as you may think or fear. To some starting out with developing may be somewhat overwhelming, but with the right gear in place, it’s a walk in the park. As you get into the art of black & white, you’ll figure out your personal preferences of film and developer combination, but the kit by Ilford & Paterson will give you all the tools needed, to develop any kind of film in the future.
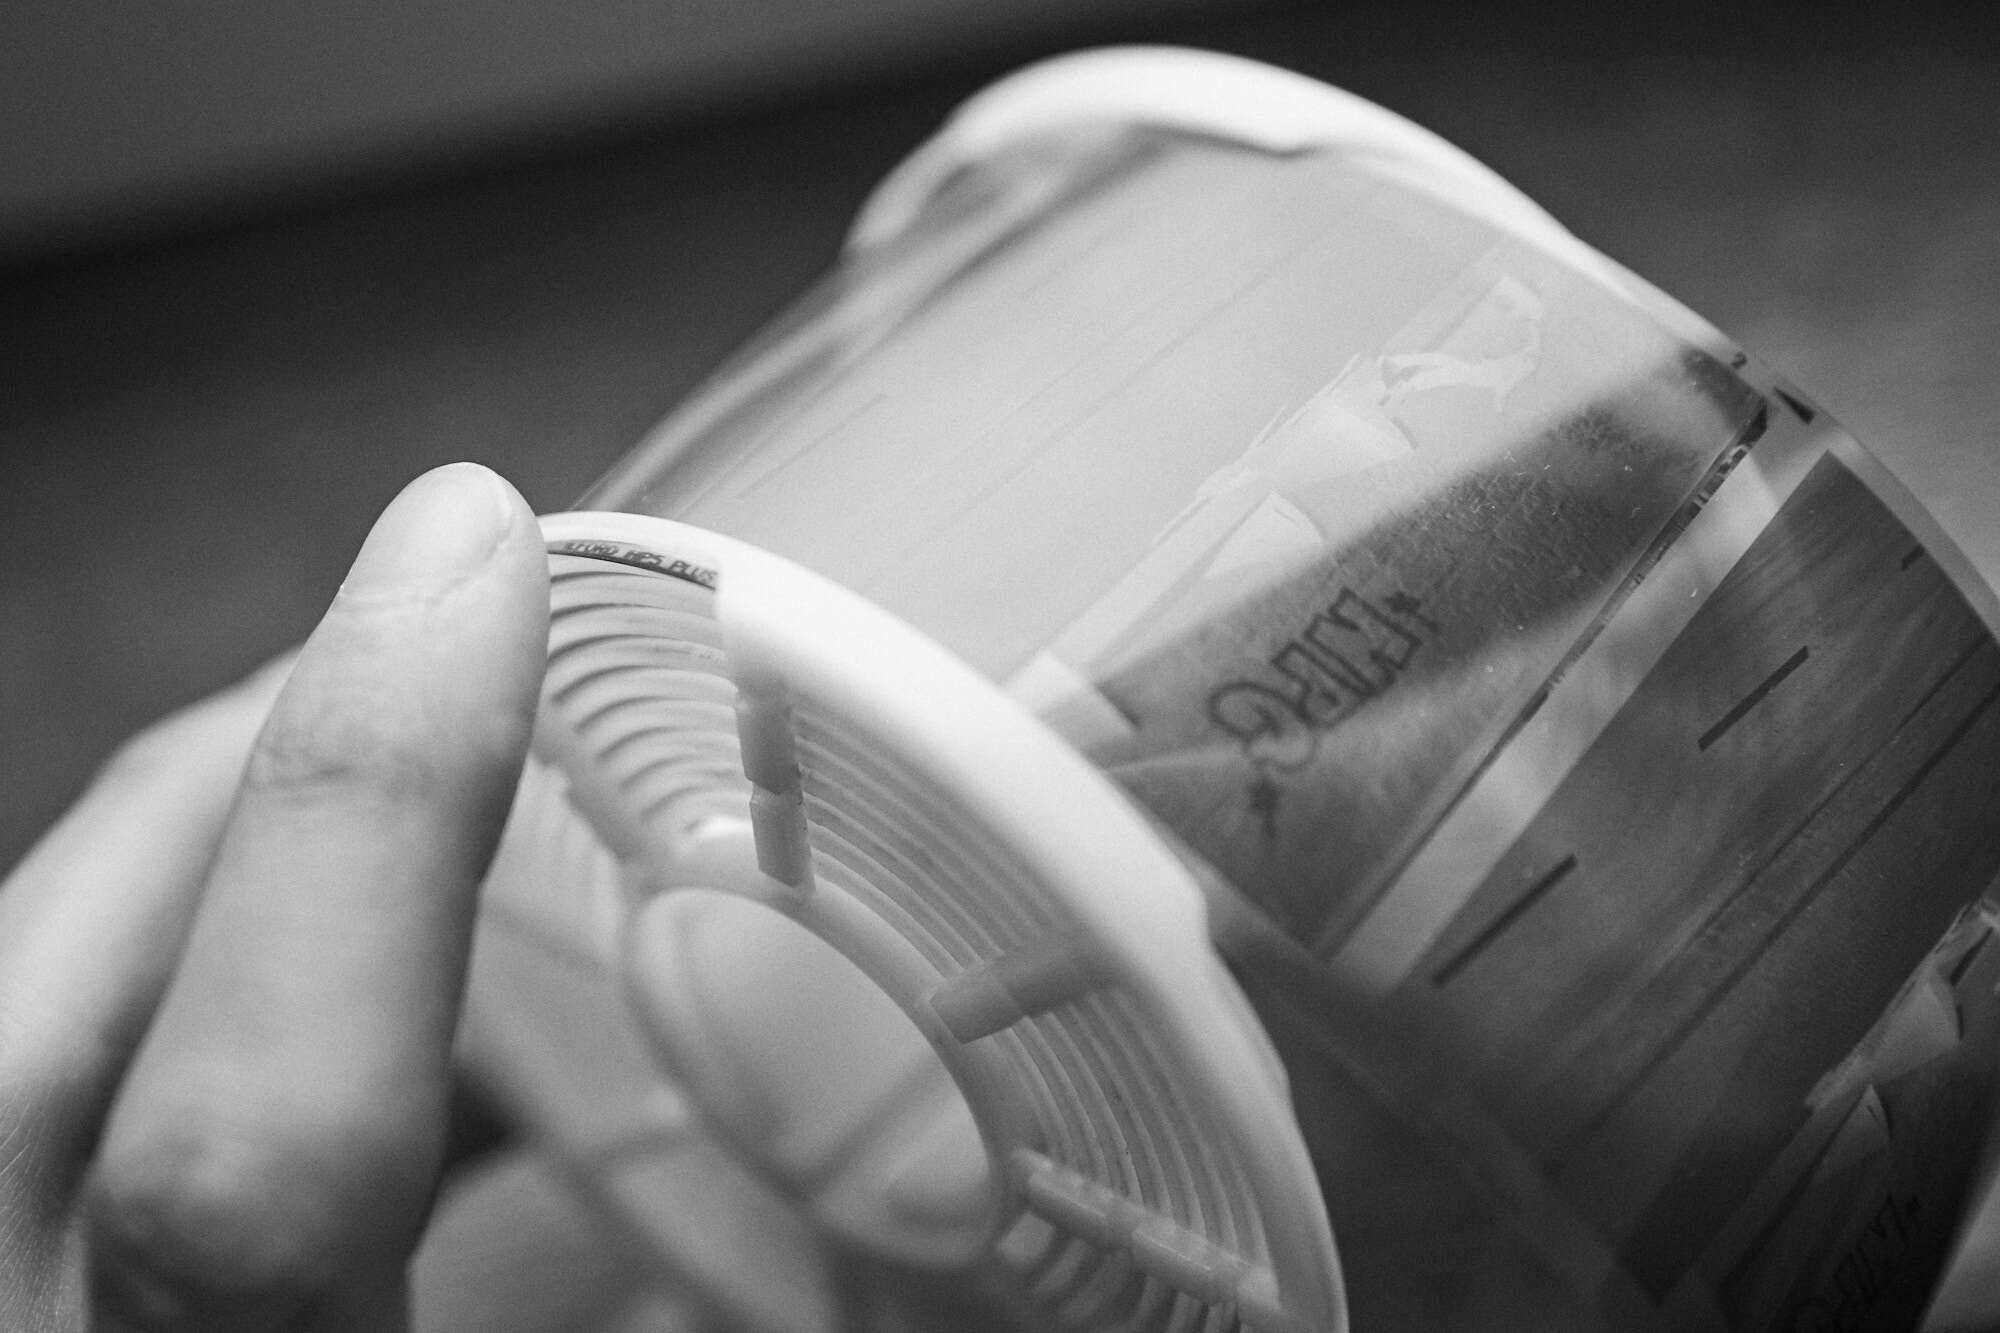
Your exposed black & white film needs to find its way into the developing tank. This part of the process is the only one that needs to be done in complete darkness. There are changing bags designed to do this in broad daylight, but a bathroom without windows with a towel to cover cracks under the door, a plastic bag inside a hoody in a darkened room, anything that shields the film from being exposed to light in the process will do.
The spools can be a little funky, but don’t lose your cool, keep your fatty fingers off the film and maybe sacrifice a film to practice in daylight beforehand.
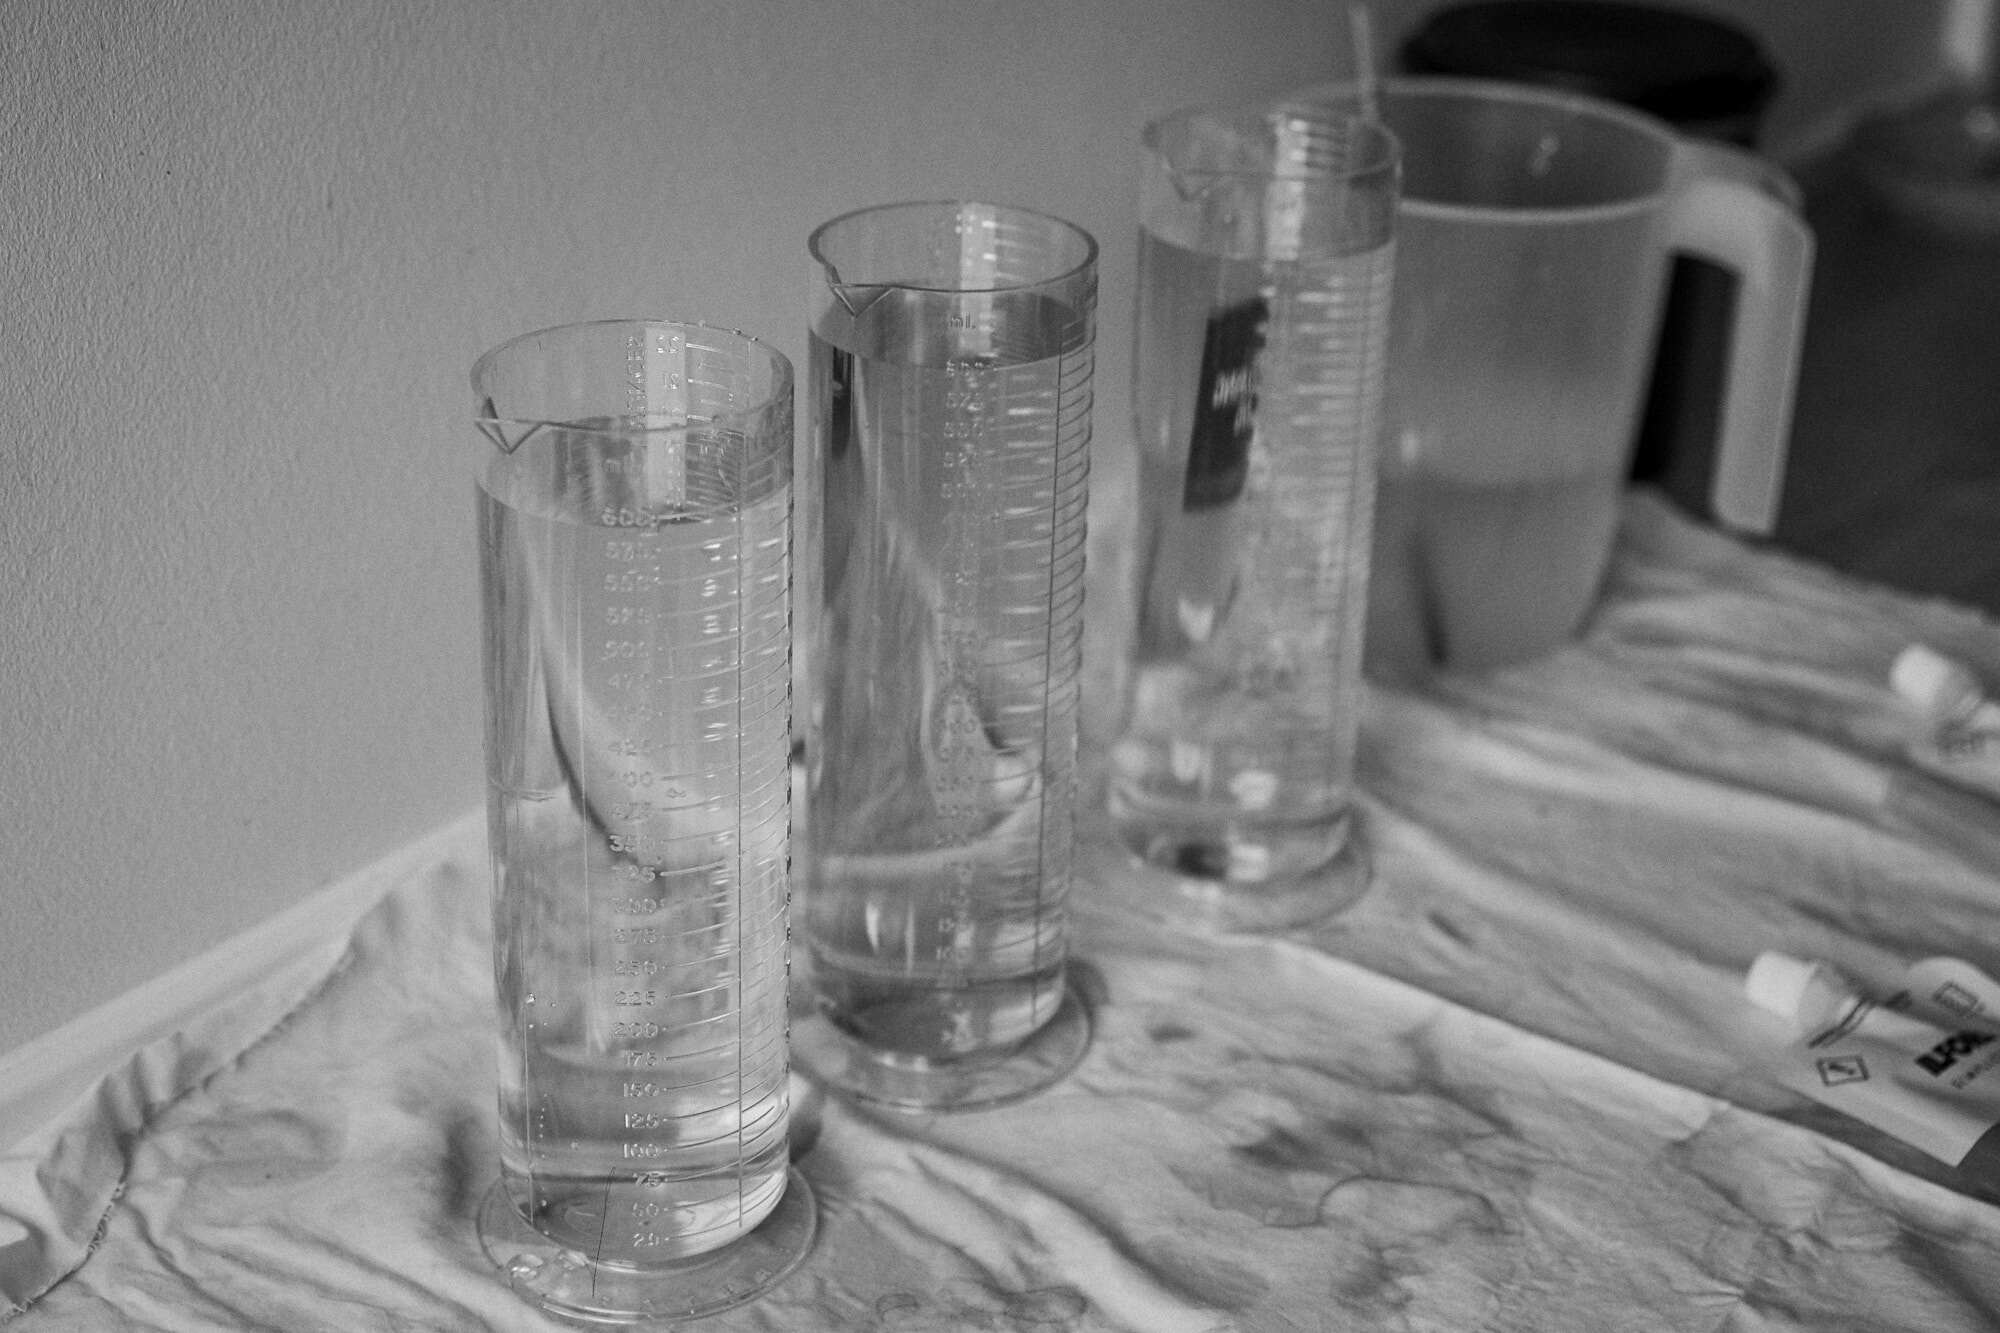
Get all your gear in place, mix up the chemicals as described on packaging, or according to your preferred combination & dilution. The Massive Dev Chart will be your friend throughout your BnW career. Be mindful of keeping your chemicals away from coming in contact with food or things you'll eat from. This is somewhat up to personal preference. It may be necessary if you want to reuse your developer, which in this case we won’t, so don’t bother for now.
The Developing:
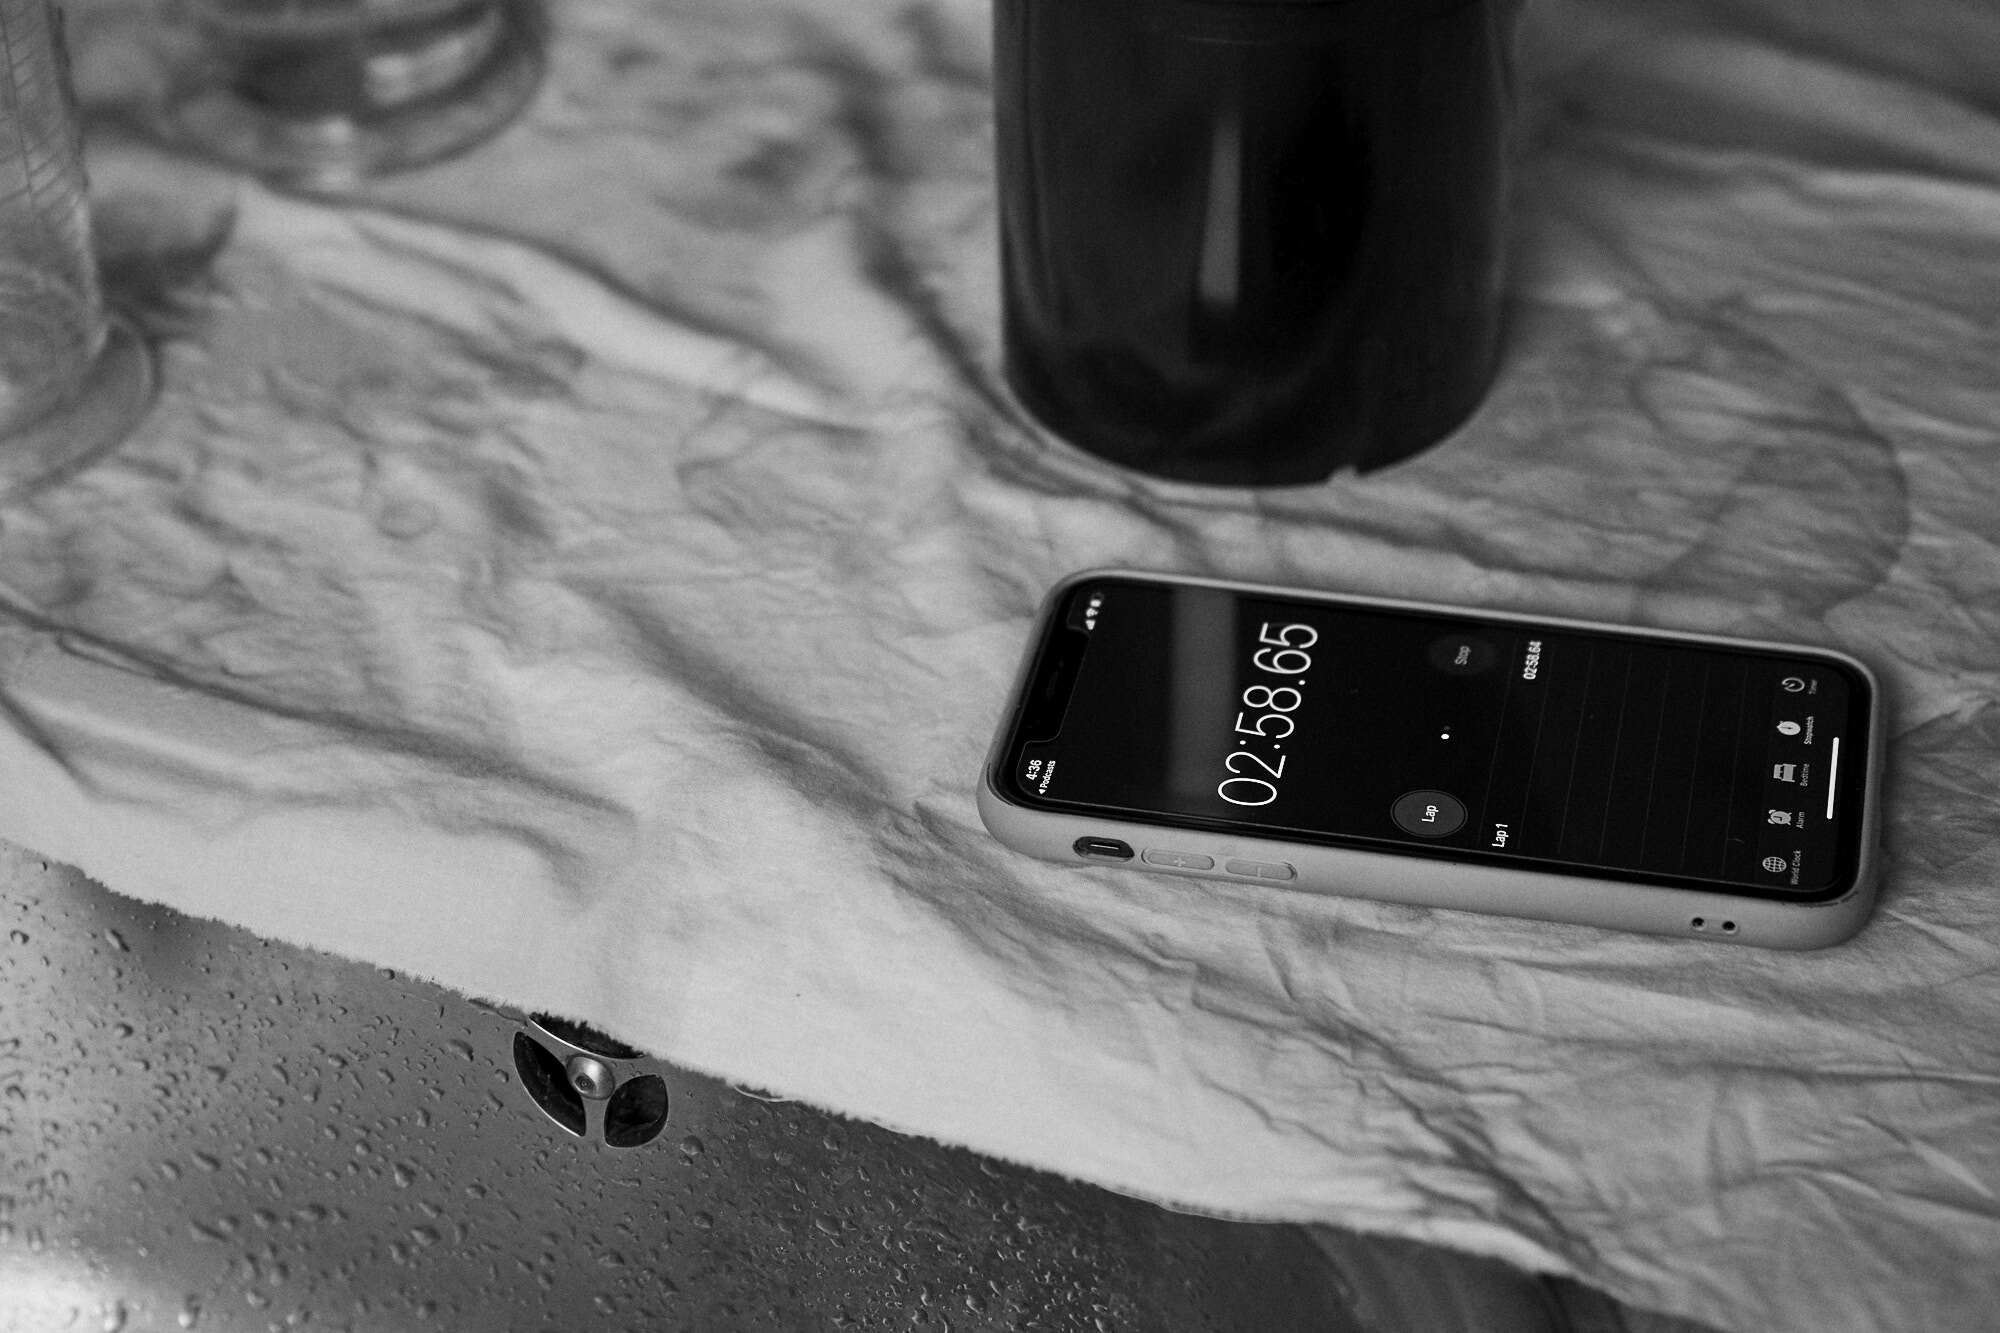
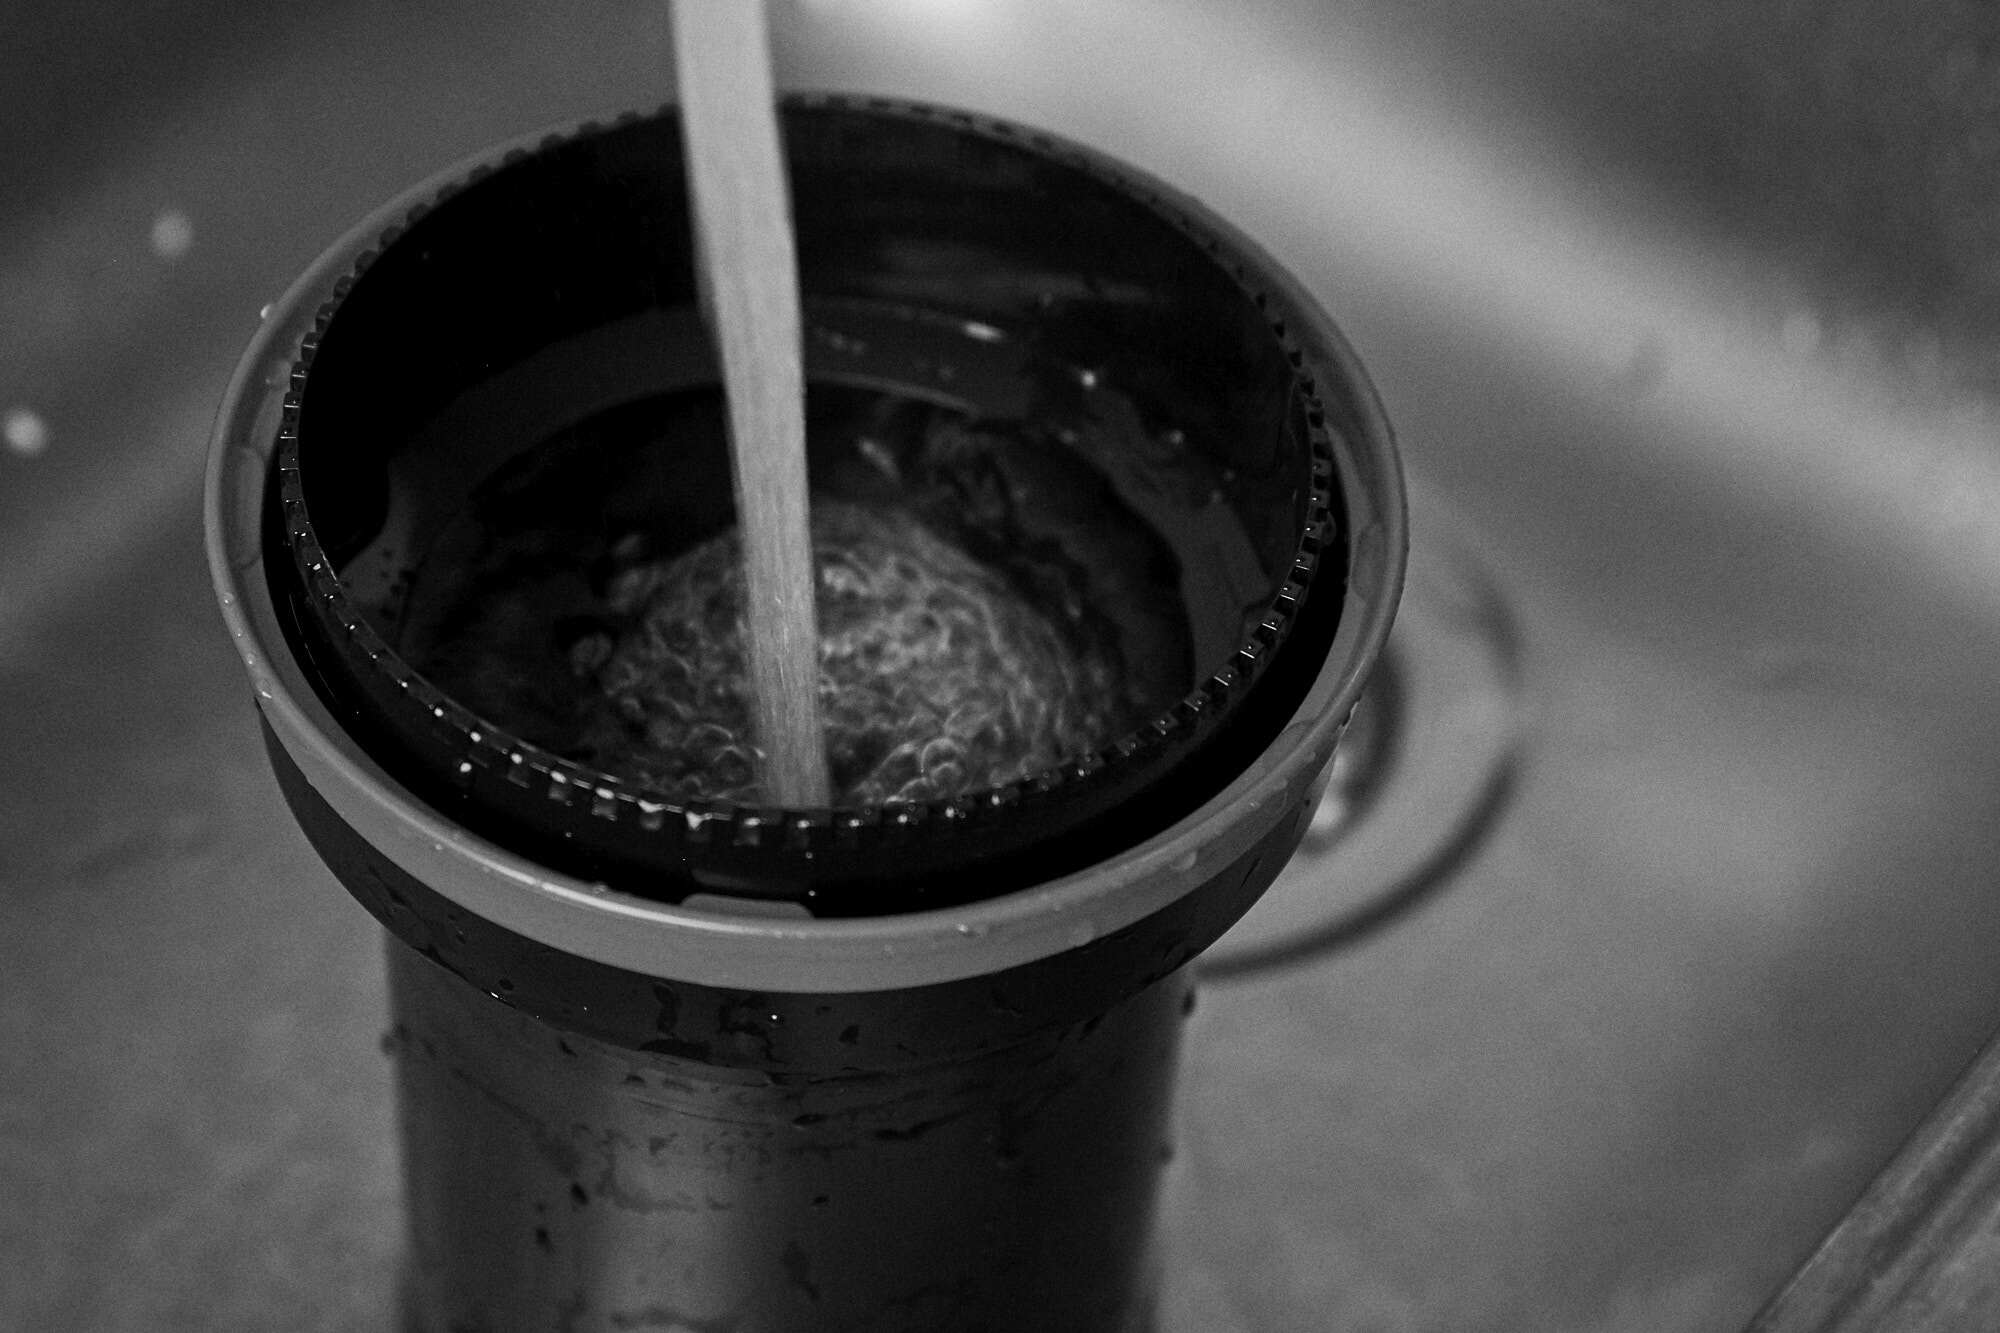
This is where most of the magic happens, and you may want to stay off the gram while doing it. The exact process is up to the developer and film combination. You’ll be able to drag more contrast or even sharpness out of your images through certain techniques and combinations, but if you’re just getting started you may want to opt for an easy combo, like the Simplicity Kit by Ilford used in this example. Bring that stuff up to temperature, dilute as prescribed and start developing. In this example we develop HP5+ for 6,5 minutes at 20 degrees celsius, agitating the first 10 seconds of every minute. Pour out the developer back into the container and dispose according to local guidelines.

Stopping the Development:
There is a lot of options for stop baths Another one that’s somewhat optional. Instead of a Stop bath, a simple water rinse does the trick of stopping the developing process and keeps your developer from getting into the fixer.
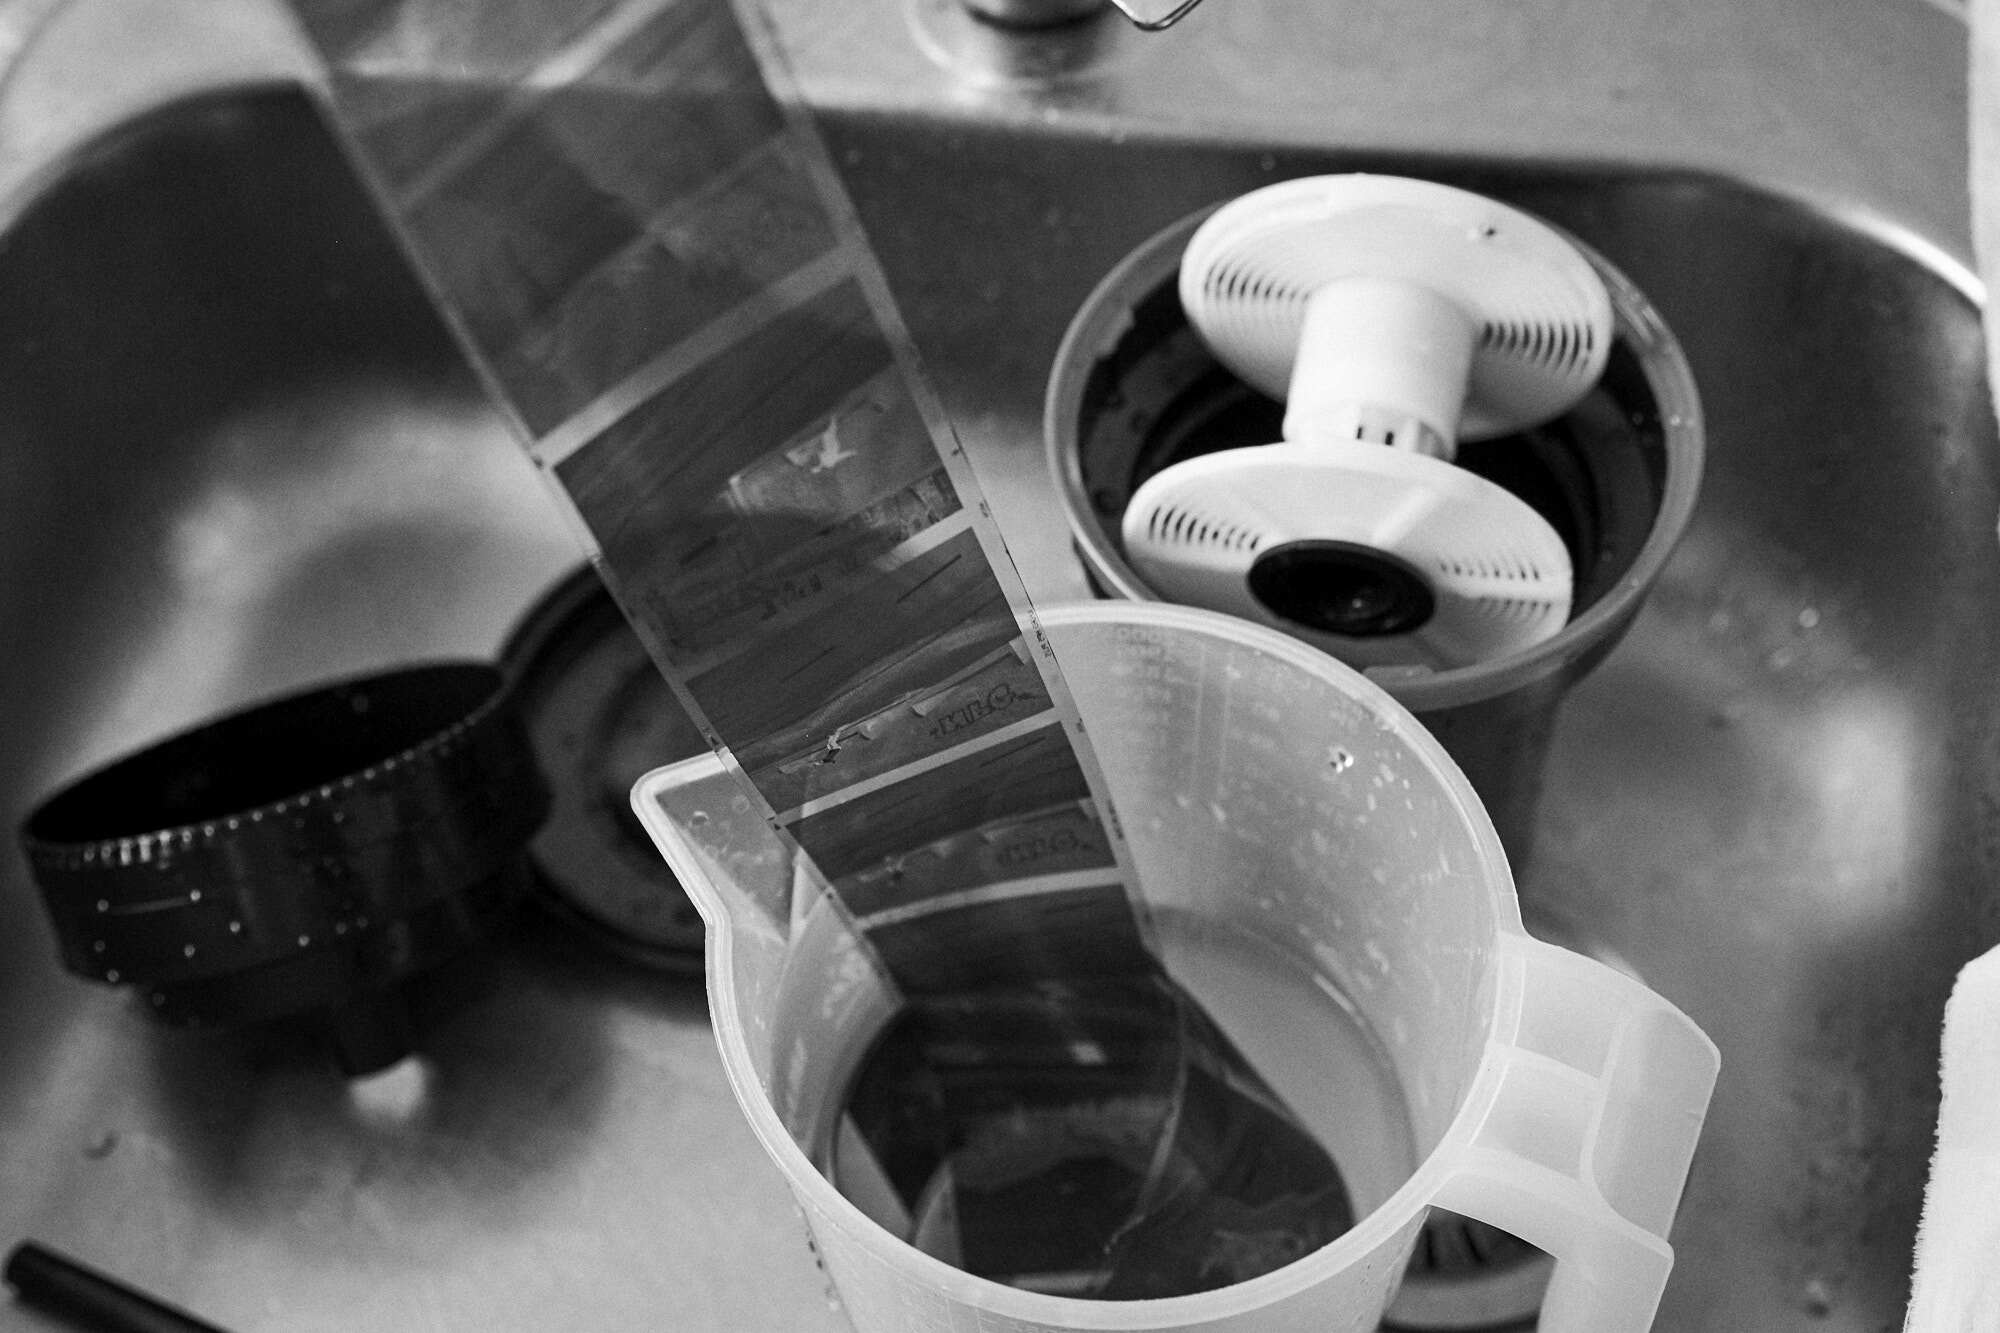
This is where in the past a lot of water has been wasted. The most ecological way is suggested by Ilford. You simply fill the tank with water, give it 5 inversions and pour it out again. Afterwards do the same with ten inversions, another one with 20 and a final 5, adding (as you may have guessed) an optional wetting agent to help with streak-free drying. This depends on how much lime is in your tap water.
Drying and final touches:
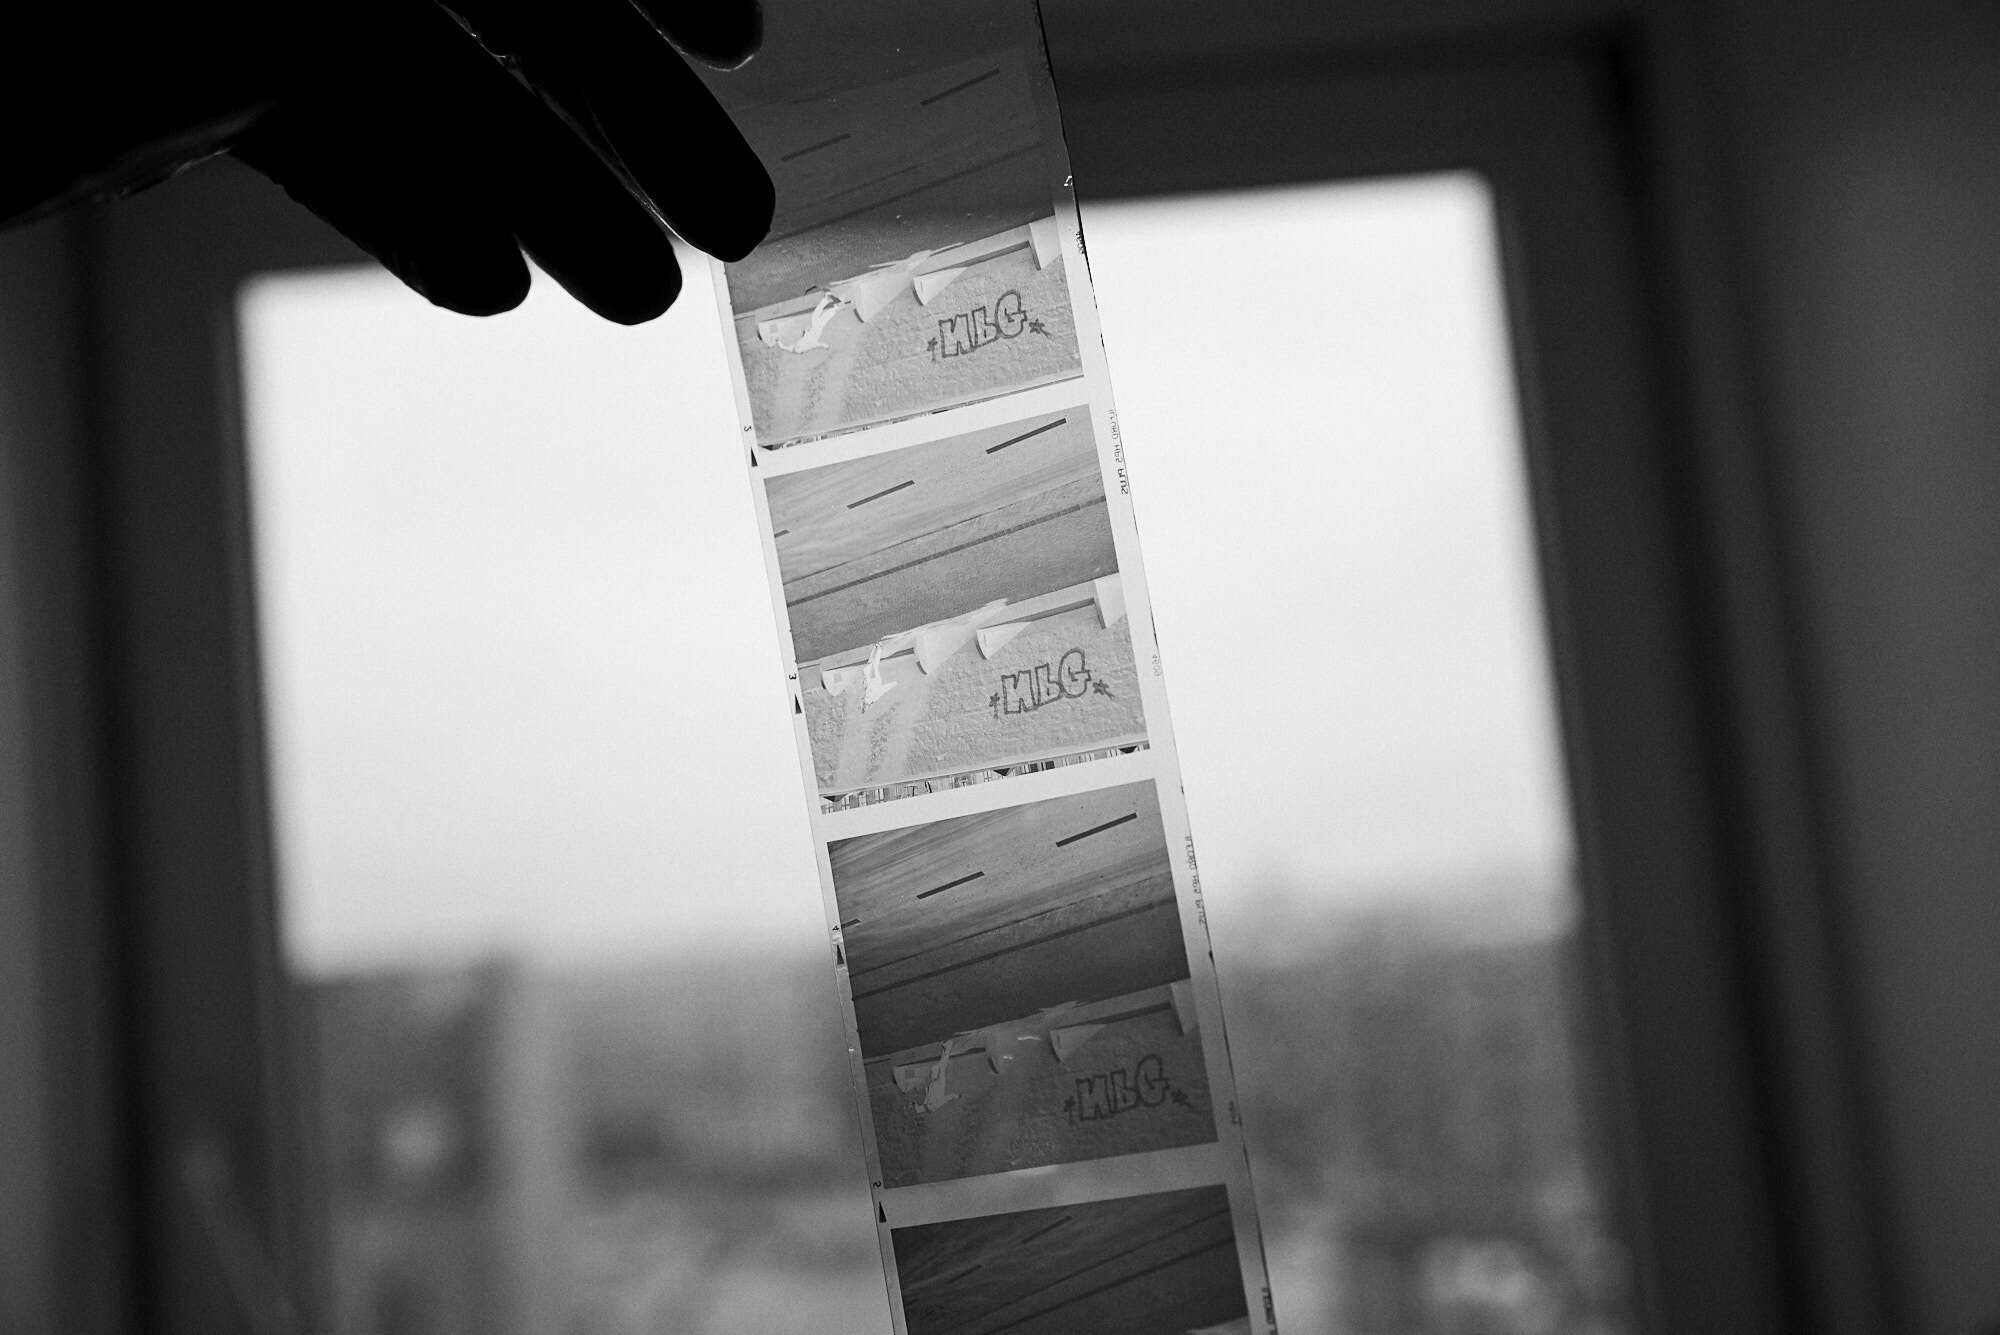
Drying is best done in a dust-free environment, bathrooms are usually a good idea. The more time you give a negative do dry, the safer it will be for archiving. After drying, cut the film into pieces and store in an archival film holder.

Benjamin Jørgensen - Bs Smith
The shopping list:
- Developing Tank
- Developer
-Stop Bath
- Fixer
- Thermometer
- Measuring Cylinder
- Archival Storage Sheets
- Clamps for drying
- Towel
Ilford's Simplicity Kit is an easy entry, comes with everything you need for your first development and can be used with any film & developer for future use.

Thrilled as you are from holding your first self-developed roll of film in hands, you quickly realize a strip of negatives is not a final product. Continuing your organic image journey and learning how to do gelatin-silver prints may be too much for one afternoon, so you'll most likely want to digitalize your image.
There is many options of inexpensive scanners dedicated to 35mm, flatbed scanners for negatives by Epson, Canon or even ways to use your smartphone camera.